
How to Set Up & Use Windscribe on an iPhone


To set up Windscribe on your iPhone, download the official app from the App Store, sign in or create an account, and tap the big power button to connect. The whole thing takes a few minutes. The rest of this guide walks through each step and the iOS-specific settings worth turning on once you're in.
Before You Start
Make sure you have the following ready before beginning the setup process:
- Operating System Requirement: Your device must run iOS 15.0 or later to install the current Windscribe app.
- Account Requirements: You need a valid Windscribe account. The free plan gives you up to 10 GB per month once you add and confirm an email address, or 2 GB per month without one. If you want more, you have two paid options:
- Build-a-Plan: Starts at a $3/month minimum. You pick the server locations you want for $1 per location per month, and you can add Unlimited Data plus full R.O.B.E.R.T. access for an extra $1/month.
- Pro: $9/month, or $69/year (about $5.75/month), and unlocks all VPN locations, unlimited data, and full R.O.B.E.R.T. access.
Installing & Configuring the VPN
There are two ways to get up and running on iOS. For most people, the official app is the right choice. Manual setup through OpenVPN Connect is a fallback for paid users who specifically want to use config files.
Method 1: Using the Official App (Recommended)
This is the most straightforward setup method and gives you immediate access to Windscribe's server-side features. The iOS app's source code is published on GitHub, so you can review how it works rather than taking our word for it. For details on how your data is handled, see our Privacy Policy.
- Open the App Store on your iPhone and search for Windscribe VPN, or go straight to the App Store listing.
- Tap the Get button to download and install the app.
- Once the download finishes, launch the app, tap Log In, and enter your credentials.
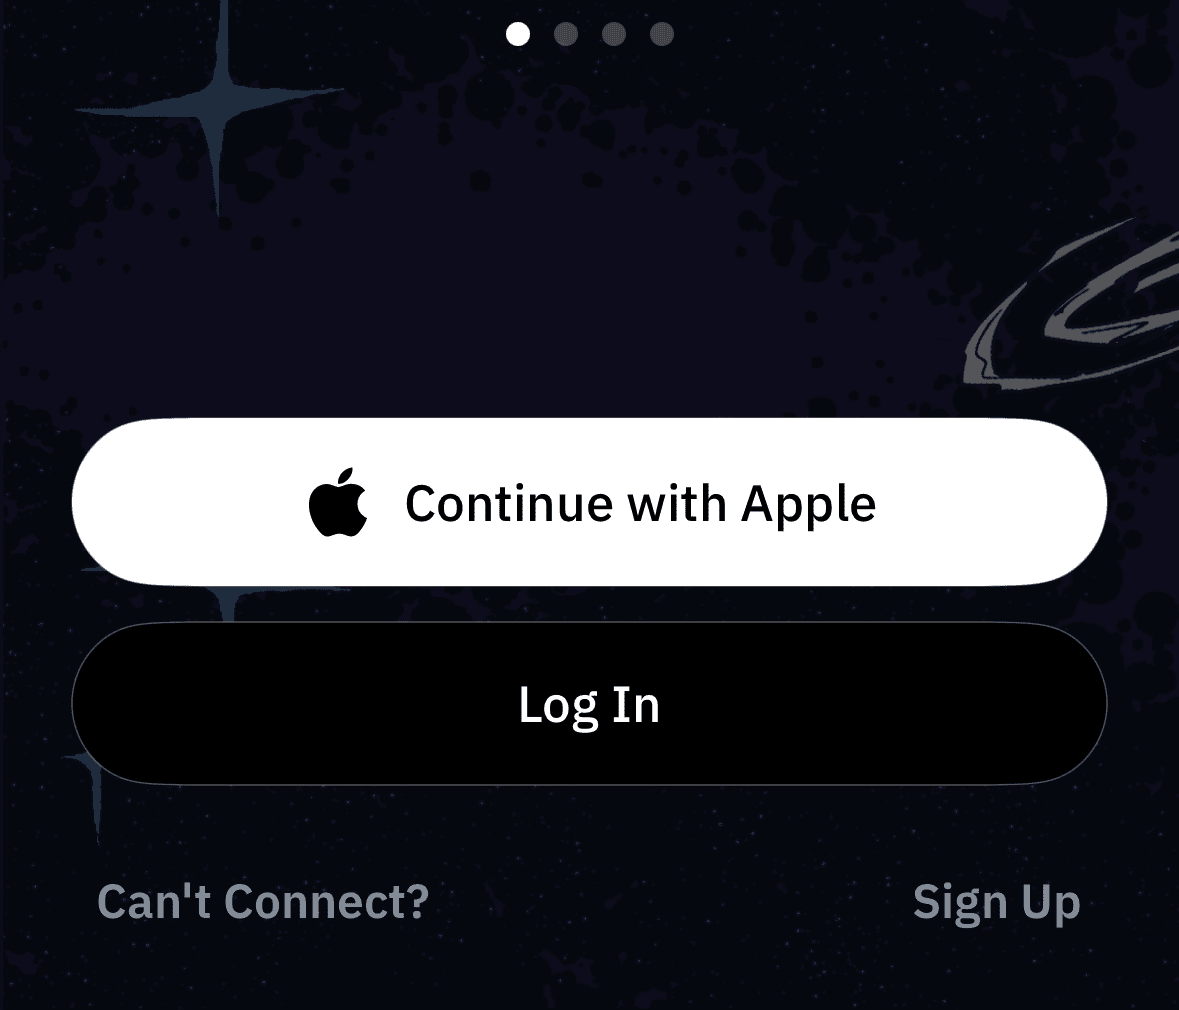
Figure 1: Windscribe welcome screen on iPhone. Tap Log In to use an existing account, or choose Continue with Apple or Sign Up.
- Tap the large Power icon on the screen. iOS will display a system prompt asking for permission to add VPN configurations. Tap Allow and enter your iPhone passcode to complete the setup.
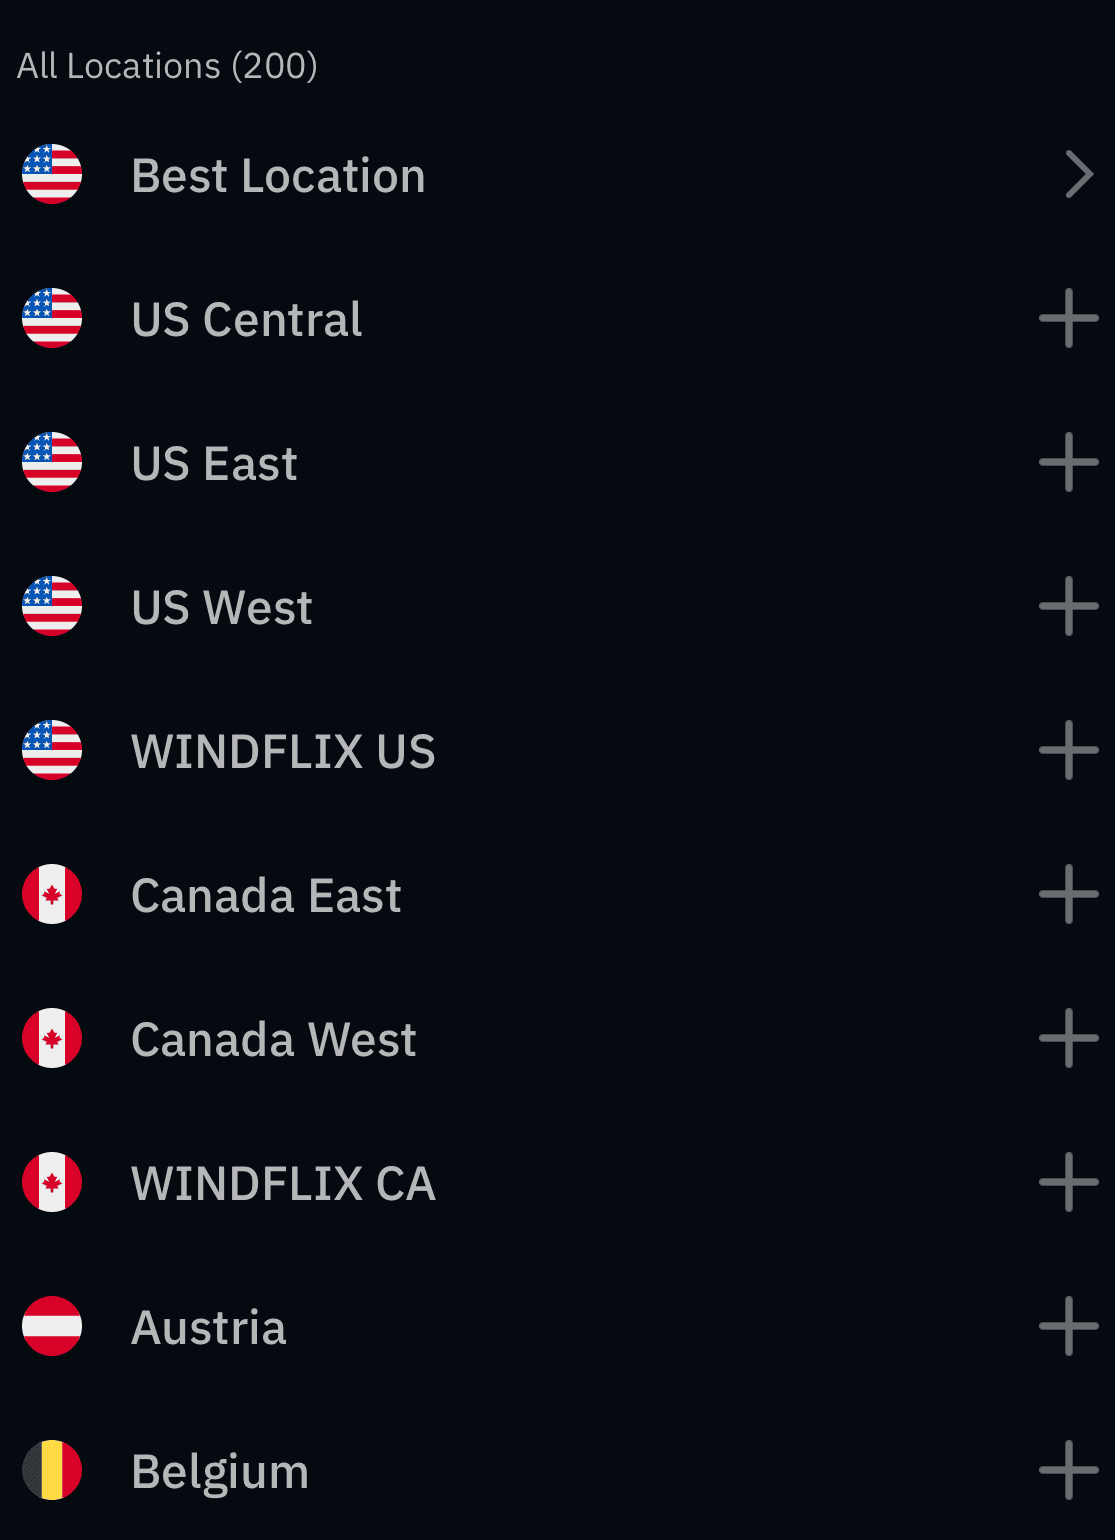
Figure 2: On the Locations screen, expand a region with the plus button and choose a server before connecting.
Method 2: Manual Setup via OpenVPN Connect (Paid Accounts Only)
This path is intended for paid accounts that have config-file access, and it's a fallback rather than the recommended setup for most users. Manual profiles run inside the OpenVPN Connect app, so you won't get the native Windscribe app's controls, such as one-tap location switching, Network Options and Auto-connect, and full protocol selection. Windscribe's config generator page also notes that manual configs don't include Split Tunneling or access to all protocols.
- Download the OpenVPN Connect app from the App Store.
- Log in to your account on the Windscribe website in a web browser, go to My Account > Config Generators > OpenVPN, and download the configuration file for your desired location.
- Open the downloaded file on your iPhone and select OpenVPN to import the profile.
- Enter the generated OpenVPN username and password shown in the Config Generator flow. These are unique credentials created specifically for manual setups, so do not enter your regular Windscribe login, as the connection will fail. Then toggle the connection switch to active.
Managing Your Connections
Switching Locations: To change your server location in the native app, open the main menu, scroll through the location list, and select your target destination. Tapping a location will automatically disconnect your current session and route your traffic through the new server. Note that free accounts can only connect to the free locations. Paid locations, such as Gdańsk, require a Build-a-Plan or Pro subscription that includes them.
Understanding iOS Limitations: Apple restricts standard VPN apps from offering app-level split tunneling on retail iOS devices, so Windscribe for iPhone cannot route specific apps outside the VPN tunnel. When you're connected, all internet traffic on your iPhone is routed through the secure VPN tunnel.
Settings & Features Worth Knowing
Your default configuration is already secure, but understanding these options helps you fine-tune your privacy.
Auto-Connect & Network Options
- What it is: A collection of automation settings that manage your VPN state based on your active network connection.
- What it does: It monitors your network environment and can automatically start a secure tunnel whenever your iPhone joins an untrusted network.
- Why you need it: It removes human error. You can set rules for trusted and untrusted Wi-Fi so you don't have to remember to protect your connection every time you join a public network at a coffee shop or airport.
R.O.B.E.R.T.
- What it is: A customizable, DNS-powered blocker.
- What it does: It blocks known ad, malware, and tracker domains before they ever load.
- Why you need it: Because the filtering happens on Windscribe's servers, it can reduce page weight, save mobile data, and cut down on junk before it reaches your phone.
- Plan limits: The Free plan includes the Malware and Ads blocklists plus up to 3 custom rules. Build-a-Plan (with the Unlimited Data and R.O.B.E.R.T. add-on) unlocks all blocklists plus up to 10 custom rules. Pro unlocks all blocklists plus up to 1,000 custom rules. You manage your blocklists and rules from R.O.B.E.R.T. in the Windscribe app or your account. To learn more, see the R.O.B.E.R.T. feature page.
Manual Protocol Selection
- What it is: The protocol is the method Windscribe uses to create and carry your VPN connection.
- What it does: It controls how your connection is established, encrypted, and carried across the network.
- Why you need it: The iOS app supports several protocols so you can match the network you're on. WireGuard is a good default and is designed to minimize battery and speed impact. IKEv2 and OpenVPN are well-established standards. Stealth and WStunnel are designed to help on restrictive networks and can be worth trying when a network blocks normal VPN traffic. (AmneziaWG is also available for more specialized needs.)

