
How to Set Up & Use Windscribe on Android


To set up Windscribe on your Android device, download the app from the Google Play Store (or grab the APK directly from our site if you'd rather not let Google log the install), sign in or create a free account, then tap the big power button to connect.
The whole thing takes just a few minutes. This guide walks you through each step and the settings worth turning on once you're in.
Before You Start
Make sure you have the following ready before beginning the setup process:
- Operating System Requirement: An Android device running Android 7.0 (Nougat) or above. Devices on older versions of Android aren't supported by the current app.
- A Windscribe Account: You can easily create a new account directly inside the app during setup.
- Data Allowance: Our free tier gives you up to 10 GB per month with a confirmed email address, or 2 GB per month without one. This is completely free and gives you plenty of data to test whether the app works for you before spending any money.
- Premium Upgrades: If you decide to upgrade later, Pro is $9/month, or $69/year (which works out to $5.75/month). You can also use our unique Build-A-Plan option, which is $1 per location per month with a $3 minimum, letting you pay only for the specific server locations and features you actually need. You can customize your subscription over on our Windscribe Pricing Page.
Downloading & Installing the App
There are two ways to install Windscribe, depending on how much you trust app stores. The Windscribe Android client is fully open-source, so you can inspect the code yourself on GitHub if you're the suspicious type.
Method 1: From the Google Play Store
This is the easiest way to get Windscribe on your Android device. Truly easy peasy lemon squeezy.
- Open the Google Play Store on your device.
- Search for Windscribe.
- Tap the Windscribe VPN app, then tap Install.
- Open the app once it finishes downloading.
Method 2: Manual Install via APK
If you can't use Google Play, you can download the APK directly from Windscribe. FYI, an APK is just the Android installation file, the package your phone uses to install an app outside the Play Store. Installing this way also avoids tying an install record to your Google account (Google calls this "library history," which is a polite name for a list of everything you've ever installed).
Note that the APK installs the same app with the same requirements, so it won't run on Android versions older than 7.0.
- On your device, open a browser and go to the direct Android APK download.
- Download the Android APK file.
- Your phone will warn you about installing from an unknown source. You'll need to allow installs from your browser in the permission prompt that appears.
- Open the downloaded file and follow the on-screen steps to install.
Logging In & Connecting
- Open the Windscribe app.
- Tap Login if you already have an account, and enter your username and password. If you don't have one yet, tap Sign Up to create a free account on the spot.
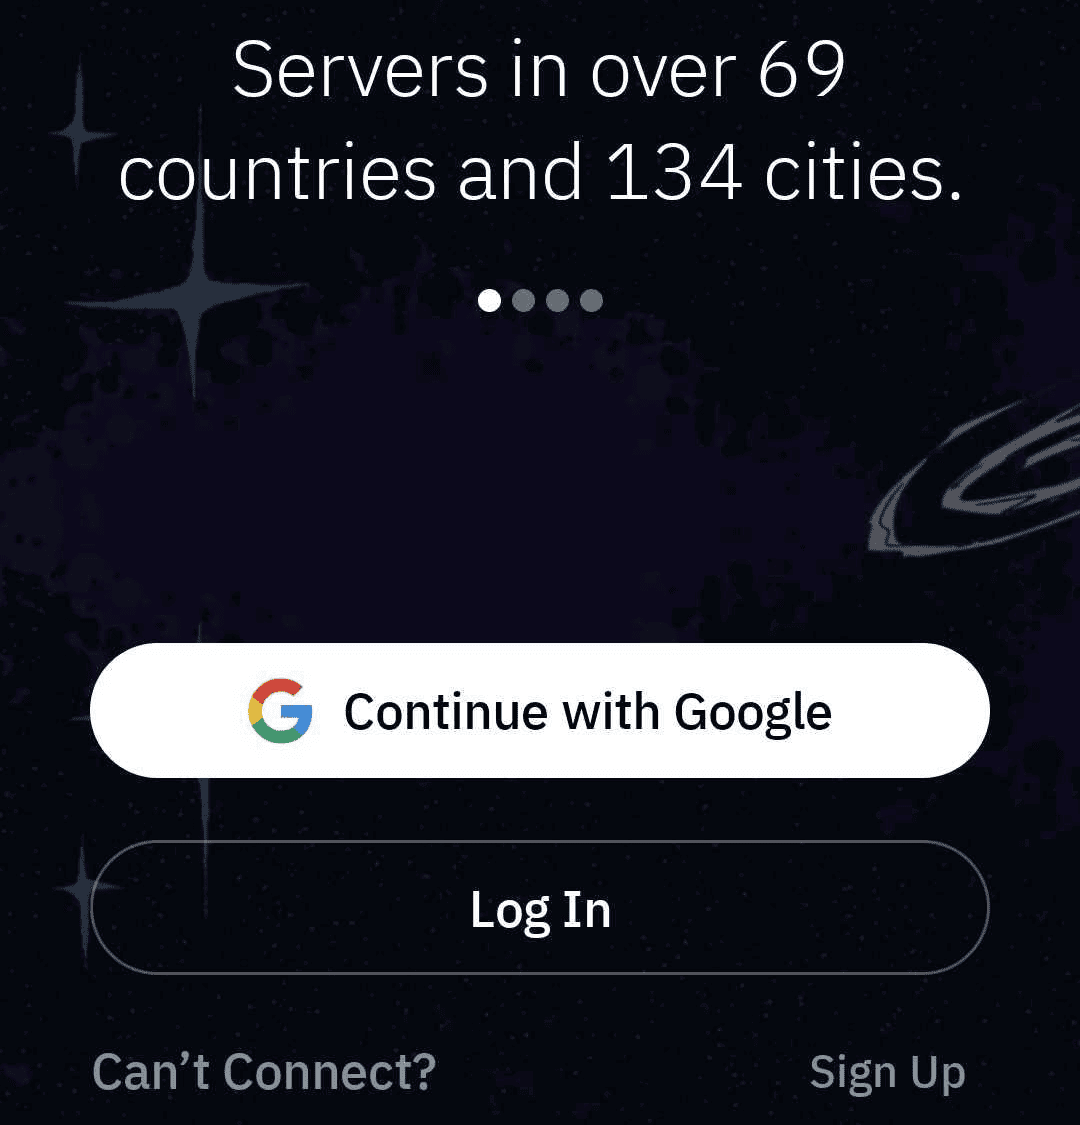
Figure 1: Windscribe for Android welcome screen showing Google sign-in, login, and sign-up options.
- Once you're logged in, you'll land on the main screen with a large connection button.
- Tap the button to connect to the best available server automatically. The first time you connect, Android shows a connection request asking permission to set up a VPN. Tap OK to allow it.
- To pick a specific location instead, tap the location bar and choose a country or city from the list.
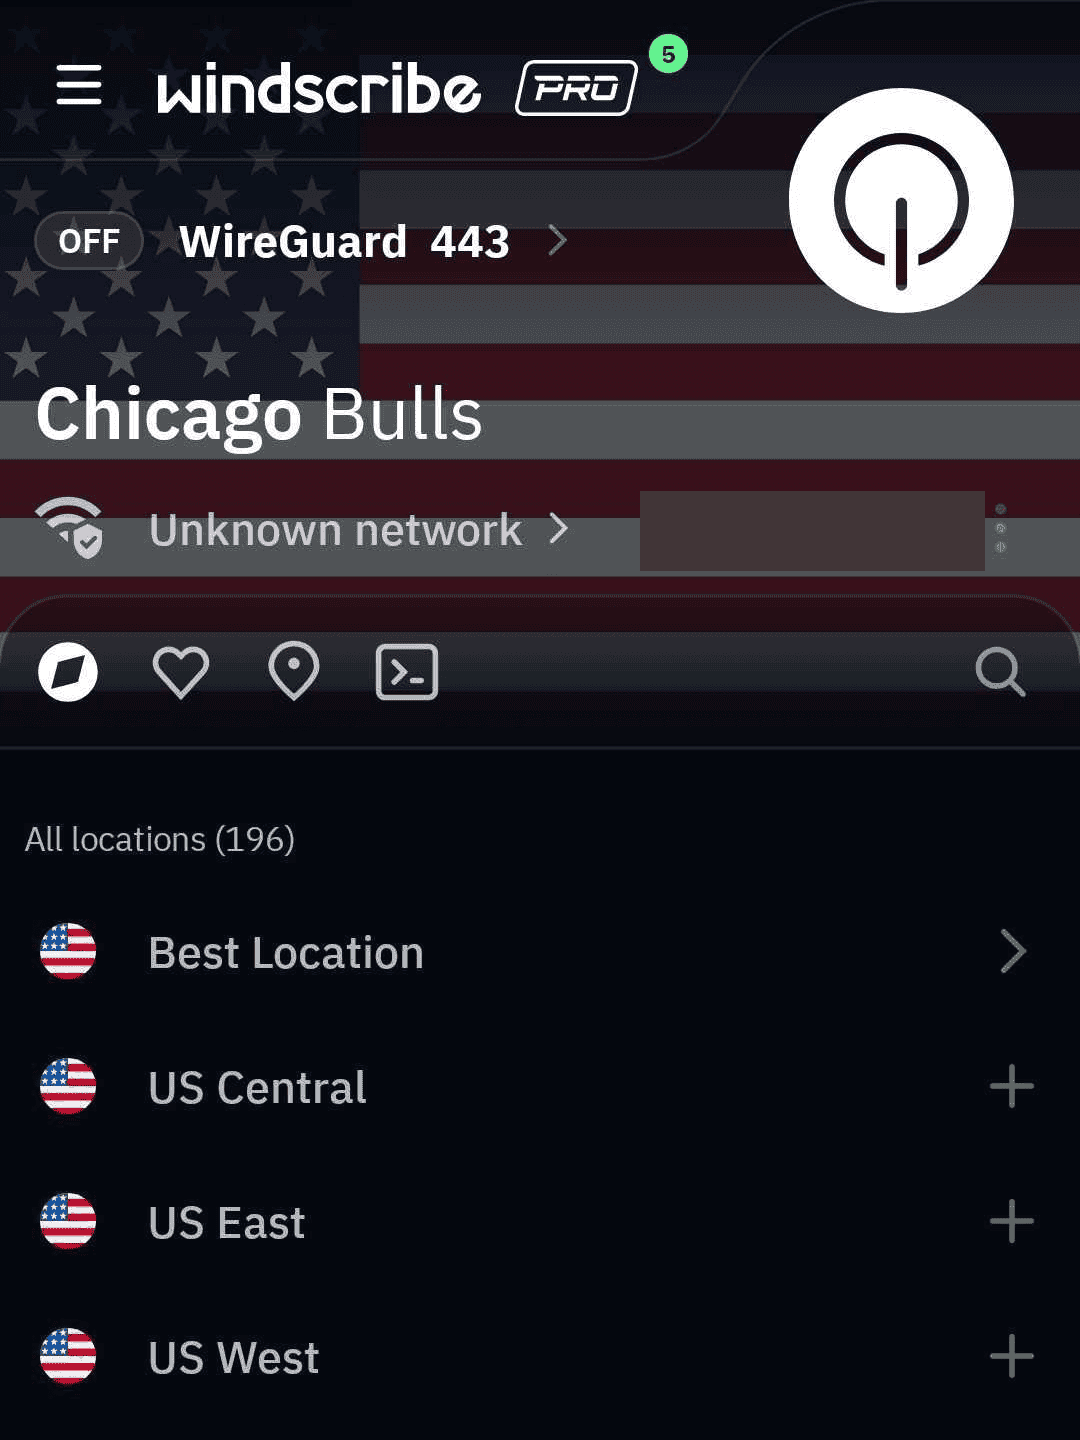
Figure 2: Windscribe Android Locations screen while disconnected. The public IP address has been redacted for privacy.
- To disconnect, just tap the connection button again. The status will switch back to off.
NOTE: Free Windscribe users can only connect to free locations (we offer servers in 10 countries on the free plan). All paid locations are marked with a star and require a paid plan.
Settings & Features Worth Knowing
Once connected, a few options under the menu are worth your time. Here is a breakdown of what they do and how they protect you.
Preventing Leaks on Android (Always-on VPN)
On desktop (Windows, Mac, and Linux), Windscribe has a built-in Firewall setting that blocks all traffic outside the VPN tunnel. On Android, that job is handled by the operating system itself rather than by a setting inside the app.
HOW TO SET IT UP: Open Android's Settings > Network & internet > VPN, tap the gear icon next to Windscribe, and turn on Always-on VPN and Block connections without VPN. (The exact menu path varies slightly by manufacturer and Android version.)
Together, these two Android settings stop any traffic from leaving your phone unless it's going through the VPN tunnel. If your connection ever drops, nothing leaks out over your real IP address (which reveals your approximate location). The connection simply fails closed. Windscribe's own Firewall page notes that Always-on VPN has the same effect on Android as the desktop Firewall. Turn this on.
R.O.B.E.R.T.
What it is: Our customizable, network-level blocker.
What it does: While you're connected, it blocks many ad, tracker, malware, and other unwanted domains at the DNS level, before they ever load on your phone.
Why you need it: It can save your mobile data, speed up your web browsing, and cut down on tracking. You choose what to block. (Yes, it's named after a real person. No, we won't explain.)
A note on plans: The Free plan includes the Malware and Ads blocklists plus 3 custom rules. Build-A-Plan unlocks all blocklists plus 10 custom rules, and Pro unlocks all blocklists plus 1,000 custom rules. You can read more on the R.O.B.E.R.T. feature page, and change your own settings from your account's R.O.B.E.R.T. configuration in the app or web dashboard.
Split Tunneling
What it is: A feature that splits your phone's internet connection into two pathways.
What it does: On Android, split tunneling is app-based: you choose specific apps to either route through the VPN or send straight to your normal internet provider.
Why you need it: Some banking apps or local food delivery services get suspicious and lock you out if they think you're logging in from another country. With split tunneling, you can exclude your banking app from the VPN while keeping the rest of your phone protected.
Important caveat: If you've turned on Android's Always-on VPN plus Block connections without VPN (recommended above), Exclusive mode in split tunneling won't work as expected, because Android blocks any connection that tries to bypass the tunnel, so apps you meant to send outside the VPN simply won't get online. Pick one approach or the other depending on what matters more to you.
Auto-connect (Network Options / Auto-Secure)
What it is: An automated trigger for your security settings.
What it does: It monitors your phone's network connection and automatically turns the VPN on when you join an untrusted network.
Why you need it: You shouldn't have to manually remember to turn on your VPN every single time you connect to a sketchy coffee shop, hotel, or airport Wi-Fi. This does the remembering for you.
Protocol
What it is: A protocol is the connection method the VPN uses to package and send your data.
What it does: It dictates how your data is encrypted and transmitted over the web.
Why you need it: Different networks block different types of traffic. On Android we offer industry standards including WireGuard (blazing fast and lightweight), IKEv2, and OpenVPN (both TCP and UDP). Windscribe also includes obfuscated connection modes:
- Stealth: Disguises your VPN traffic as normal web browsing (OpenVPN over TLS).
- WStunnel (WebSocket tunneling): Wraps your data in a layer that makes it look like standard web connection traffic.
When to change it: If you're in a restrictive region that actively blocks VPN networks, switching to Stealth or WStunnel can help you slip past deep packet inspection and stay connected.
Pro-Tip
For a set-and-forget setup, combine Windscribe's Network Options / Auto-Secure with Android's Always-on VPN and Block connections without VPN. That way the moment your phone joins an unknown Wi-Fi network, Windscribe connects, and if the connection ever drops, nothing leaks. The most secure setup is the one you don't have to think about, because the security feature you forget to turn on protects exactly nobody.
Frequently Asked Questions
Is Windscribe safe to install?


Does Windscribe slow down my phone?
Can I use the free version permanently?
Does Windscribe work in China, Iran, or Russia?
Next Steps
Now that Windscribe is set up on your Android device, it's time to get the most out of your setup. Learn more on the R.O.B.E.R.T. feature page, or visit our Help Center for setup guides for your other devices.