
How to Set Up & Use Windscribe on Linux (GUI)


The easiest way to use Windscribe on Linux is through the official desktop app. It lets you connect, switch locations, and manage core VPN features without manually editing VPN configuration files. The desktop client is open source, and you can review the code or follow development in the Windscribe Desktop App repository.
Before You Start
Make sure you have the following ready before beginning the setup process:
- Operating System Requirement: A supported Linux desktop distribution. Current support includes Ubuntu 22.04 or newer, Fedora 36 or newer, openSUSE Leap 15.6, Arch Linux with glibc 2.35 or newer, and supported immutable distributions. Download the official package that matches your distribution and CPU architecture (see Supported Linux Packages below).
- Account Requirements: A valid Windscribe account. Free accounts receive a 2 GB monthly data allowance by default, which increases to 10 GB per month once you confirm your email address. See Account Plans & Pricing below for the differences between Free, Pro, and Build-A-Plan.
- The Installation Package: Download the correct client installer for your machine directly from the official Windscribe Downloads page.
Windscribe does not log your browsing activity and does not sell user data; see our Privacy Policy for specifics.
Account Plans & Pricing
Windscribe has one free tier and two paid options. Your plan determines how much data you get, which VPN locations you can reach, and how much of R.O.B.E.R.T. you can configure.
- Free: No payment required. You get 2 GB of data per month, or 10 GB per month once you confirm your email address. Free accounts can connect only to free VPN locations.
- Pro: Unlimited data, access to all VPN locations, and full R.O.B.E.R.T. access. Billed monthly or annually, with annual billing working out cheaper per month.
- Build-A-Plan: A flexible option where you pay per location and can add unlimited data and full R.O.B.E.R.T. access. A good fit if you only need a handful of specific countries.
Pricing can vary by region and currency, and Windscribe runs seasonal promotions, so check current rates on the Windscribe website before you subscribe.
Supported Linux Packages
Official desktop packages are currently available for:
- Debian / Ubuntu: AMD64 and ARM64/AARCH64
- Fedora: AMD64 and ARM64/AARCH64
- Arch Linux: AMD64
- openSUSE: AMD64
Use the package that matches your distribution and CPU architecture. Other related distributions may work with the matching package, but are not always official support targets. To ensure the application functions as intended, download packages only from official Windscribe channels.
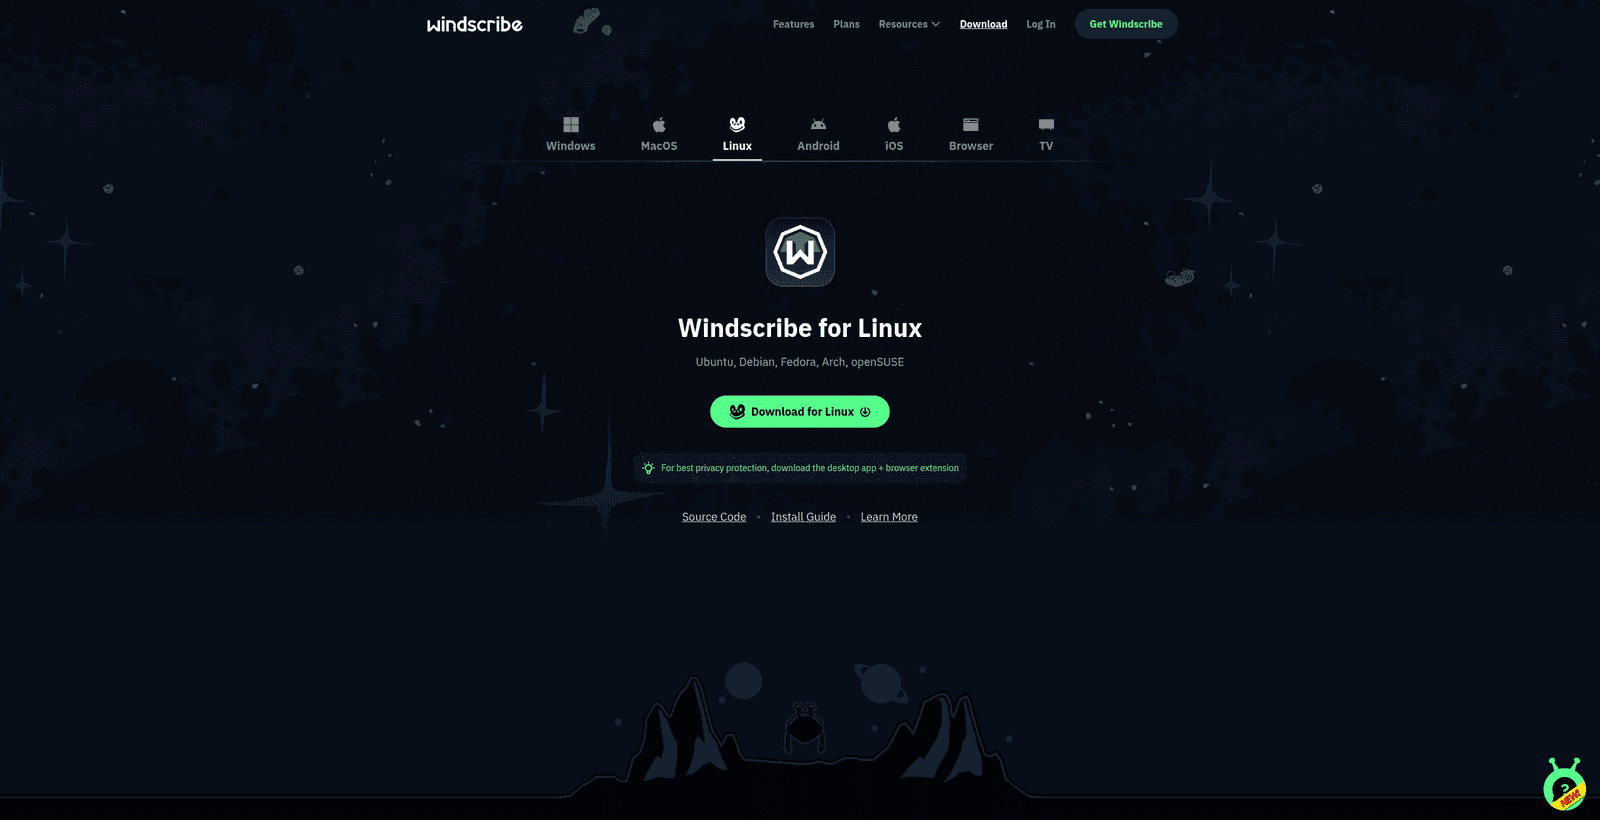
Figure 1: Select Linux on the Windscribe Downloads page, then download the package that matches your distribution and CPU architecture.
The exact filenames look like this, with [current version] replaced by the actual version number. The examples below show the 64-bit Intel/AMD builds plus the available ARM64 builds:
- Debian & Ubuntu (64-bit Intel/AMD):
windscribe_[current version]_amd64.deb - Debian & Ubuntu (64-bit ARM):
windscribe_[current version]_arm64.deb - Fedora (64-bit Intel/AMD):
windscribe_[current version]_amd64_fedora.rpm - Fedora (64-bit ARM):
windscribe_[current version]_arm64_fedora.rpm - Arch Linux (64-bit Intel/AMD):
windscribe_[current version]_amd64.pkg.tar.zst - openSUSE (64-bit Intel/AMD):
windscribe_[current version]_amd64_opensuse.rpm
Here [current version] is replaced by the actual version number, so a real Debian or Ubuntu filename looks something like windscribe_2.x.y_amd64.deb.
In addition to the desktop app above, Windscribe also provides separate Linux command-line interface packages. These are intended for headless machines, servers, and pure terminal environments where no desktop is installed. See How to Use Windscribe on Linux (CLI & Headless) for guidance on when to use a command-line package instead of the desktop app.
Windscribe does not maintain official Flatpak or Snap builds at this time, so users should stick to these native packages for the supported experience.
Installing the App
Method 1: Using the Terminal (Recommended & Most Reliable)
Because different Linux distributions handle graphical package installers differently, using the terminal is the most reliable way to install the application. Open your terminal and run the command that matches your distribution.
The commands below assume the package is in your ~/Downloads folder; adjust the path if you saved it elsewhere. They use the 64-bit Intel/AMD (AMD64) packages, so if you downloaded a 64-bit ARM package, substitute the matching ARM64 filename.
- Ubuntu / Debian:
sudo apt install ~/Downloads/windscribe_[current version]_amd64.deb - Fedora:
sudo dnf install ~/Downloads/windscribe_[current version]_amd64_fedora.rpm - Arch Linux:
sudo pacman -U ~/Downloads/windscribe_[current version]_amd64.pkg.tar.zst - openSUSE:
sudo zypper install ~/Downloads/windscribe_[current version]_amd64_opensuse.rpm
Windscribe Linux packages are signed with the same Windscribe GPG key. If openSUSE refuses to install the package because the signing key is not present, import the official public key first:
sudo rpm --import https://windscribe.com/windscribe_linux_signing_key.pubMethod 2: Using the Graphical Software Center
If your distribution supports graphical double-click installations, you can install the application without typing commands:
- Open your system's file manager and navigate to your Downloads folder.
- Double-click the downloaded Windscribe package.
- Your operating system's software center or package installer application will open. Select the Install button.
- Enter your system administrator password when prompted to complete the installation.
Opening Windscribe
- Open your system's Applications menu or activities overview.
- Search for Windscribe and select the app icon to launch it.
- Select the Login button on the main application window.
- Enter your Windscribe username and password, then select the green arrow to log in.
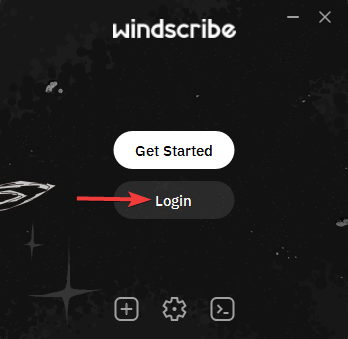
Figure 2: Select Login if you already have a Windscribe account.
Connecting
To secure your connection instantly, select the large power button in the application window.
To select a specific VPN location, select the location field inside the app window to open the full location list, then select your preferred destination.
Free accounts can connect only to free VPN locations. Premium locations marked with a star require a Build-A-Plan or Pro subscription. If a location appears locked, that is the plan limit, not a connection error.
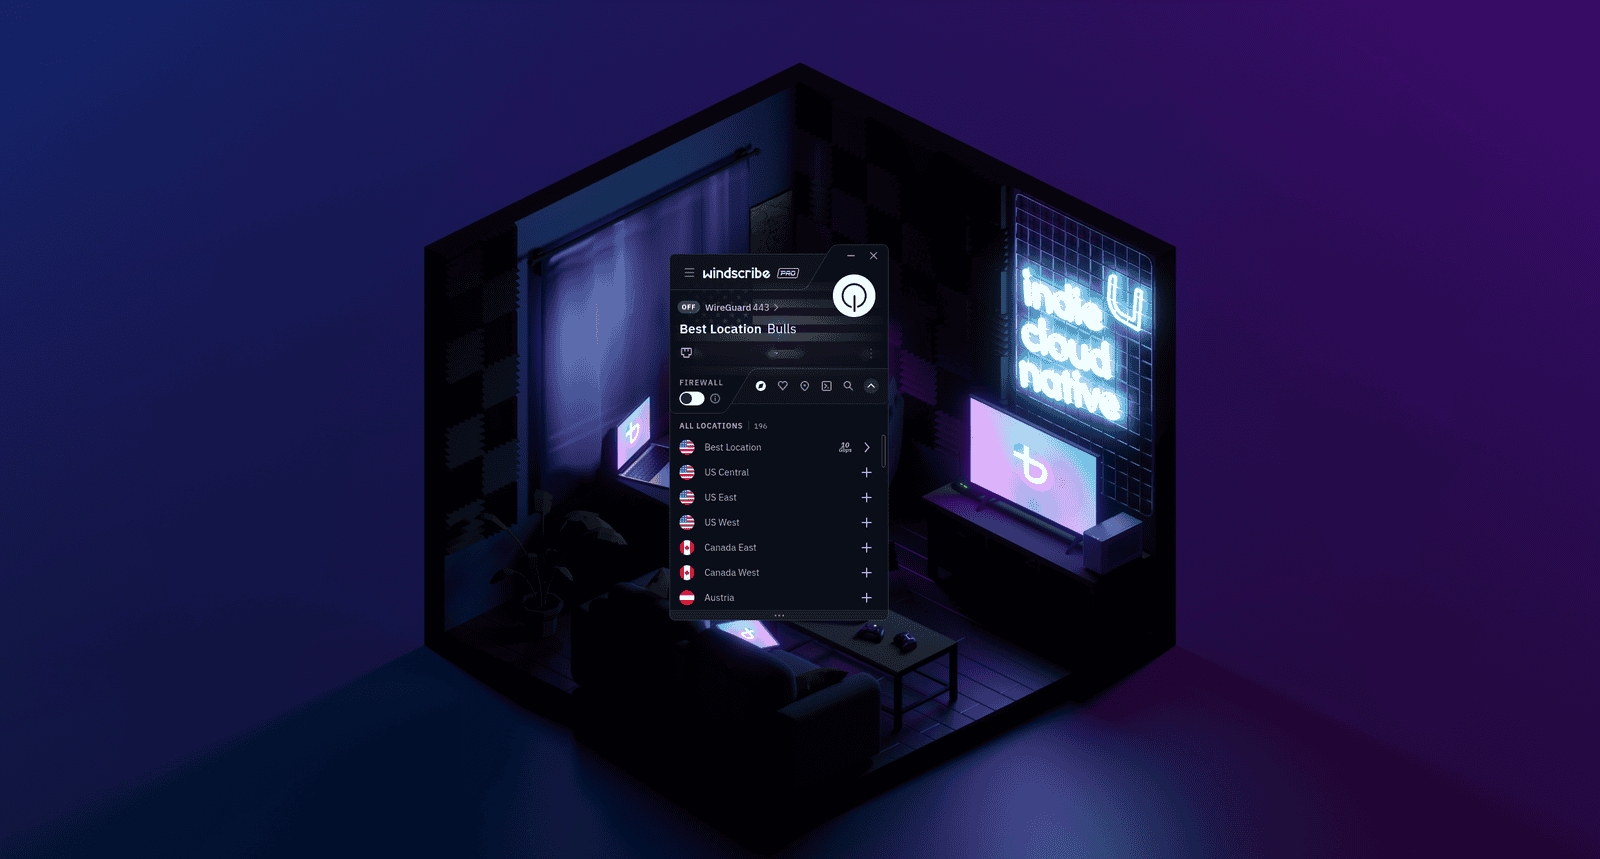
Figure 3: The location list lets you choose a destination before connecting. The app shown here is still disconnected.
You will know you are successfully connected when the main application window turns blue, the power button glows green, the status reads ON, and your newly assigned VPN IP address is displayed on the screen instead of your personal IP address.
Disconnecting
When you want to disconnect, select the power button again. The app will return to its disconnected OFF state.
Uninstalling
If you need to remove Windscribe, use your distribution's package manager. Run the command that matches your system:
- Ubuntu / Debian:
sudo apt remove windscribe - Fedora:
sudo dnf remove windscribe - Arch Linux:
sudo pacman -R windscribe - openSUSE:
sudo zypper remove windscribe
Before uninstalling, disconnect from the VPN and turn off the Firewall first, just to avoid any surprises with your network connection afterward.
Useful Settings to Know
The desktop application includes several core security features accessible through the Preferences menu.
Firewall
- What it is: A built-in, proactive Firewall operating directly at the system packet level.
- What it does: Rather than only reacting after a drop, it proactively blocks traffic outside the VPN tunnel to help prevent leaks.
- Why you need it: If your Wi-Fi network drops unexpectedly or a network cable is unplugged, your computer naturally tries to revert to your standard ISP route. Because the Firewall is already blocking all non-VPN traffic, that fallback never happens, helping prevent your real IP address from being exposed.
R.O.B.E.R.T.
- What it is: A server-side domain filtering tool that operates at the DNS level.
- What it does: It blocks selected categories of domains, such as malware, ads, and trackers, at the DNS level before your device connects to them.
- Why you need it: It cuts down on background data waste by stopping ads, malicious domains, and trackers from loading in your web browser. This filtering applies while you are actively connected to Windscribe, but custom browser DNS-over-HTTPS or local custom DNS settings can bypass it.
How much of R.O.B.E.R.T. you can configure depends on your plan:
- Free: The Malware and Ads + Trackers blocklists, plus up to 3 custom rules.
- Build-A-Plan: All blocklists, plus up to 10 custom rules.
- Pro: All blocklists, plus up to 1,000 custom rules.
Split Tunneling
- What it is: A selective network routing mechanism.
- What it does: It allows you to choose specific apps, hostnames, IP addresses, or IP networks to either use the VPN tunnel or bypass it.
- Why you need it: It is useful for apps or websites you want to keep inside or outside the tunnel, for example a site or service that blocks unfamiliar VPN IP addresses due to automated security or risk systems. To reach local network devices like printers or a NAS, use the Allow LAN Traffic setting instead, which is the dedicated option for local connections. App-based split tunneling depends on the actual application binary or launcher you select, so on some Linux desktop setups you may need to point it at the correct executable for the rule to take effect.
Protocol Selection
- What it is: The communication framework used to encrypt and package your data.
- What it does: It sets the rules for how data moves between your machine and Windscribe's VPN locations.
- Why you need it: It allows you to adapt to different network environments.
On Linux, the desktop app supports five connection options:
- WireGuard: The default. Fast, modern, and efficient; the best choice for everyday use.
- OpenVPN UDP: A reliable, well-established protocol; usually the faster of the two OpenVPN modes.
- OpenVPN TCP: Use this if UDP fails to connect. More resilient on poor networks, but it can be slower.
- Stealth: Wraps an OpenVPN connection inside a TLS tunnel to disguise VPN traffic. Useful on networks that block standard VPN protocols.
- WStunnel: Wraps the connection in a WebSocket for deeper obfuscation. A last-resort option on heavily restricted networks.
Stealth and WStunnel can help you connect on restrictive or censored networks, but no VPN can guarantee access in every situation, since blocking methods change over time.
Network Rules / Auto-Connect
Network Rules let the app connect or disconnect automatically based on the network you join. This is handy for laptop users who want Windscribe to turn on automatically whenever they connect to untrusted or public Wi-Fi.
MAC Address Spoofing
MAC Address Spoofing lets you replace your device's hardware address with a different one. You can configure how it behaves, including having it generate a fresh address automatically. This adds a layer of privacy on public networks where your device's real MAC address might otherwise be tracked.
Frequently Asked Questions
Does the desktop app run on headless Linux servers?


Why does the application require my system password during installation?
Can I run Windscribe alongside other active firewalls or VPNs on Linux?
Does changing my VPN protocol affect my connection speed?
Is the free plan permanent, or is it a trial?
Does Windscribe log my activity?
Troubleshooting
The application package fails to install on my system
The app returns a Login Failed message
The application fails to connect to any VPN locations
DNS filtering or R.O.B.E.R.T. rules are not working properly
Next Steps
Need more technical insight or help managing your active configurations? Review the open-source client in the Windscribe Desktop App repository, learn more about R.O.B.E.R.T., or visit our Help Center for setup guides for your other devices.